
Understand the HVAC Rough-In Process for a Successful Install
Understand the HVAC Rough-In Process for a Successful Install
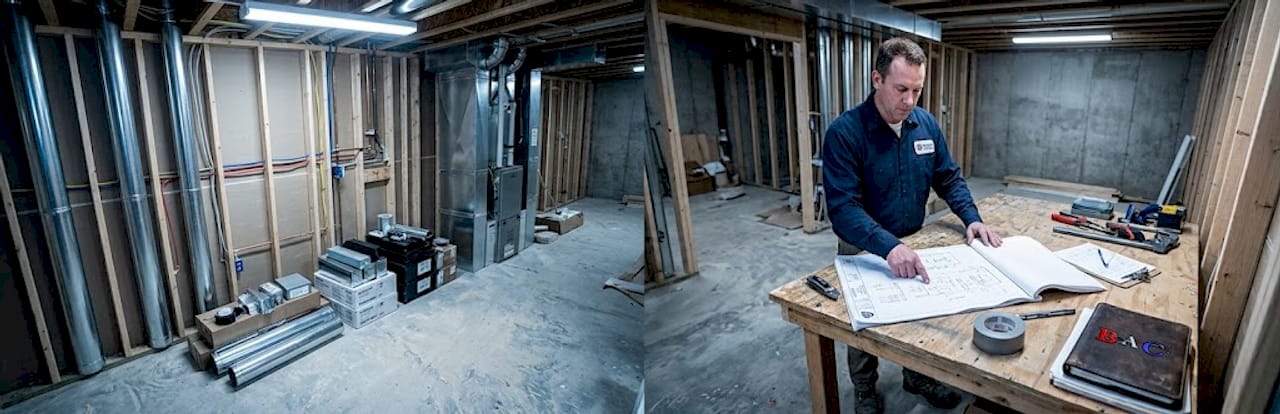
Most homeowners focus on choosing the right equipment brand, comparing energy ratings, or picking the perfect thermostat. What rarely gets enough attention is the phase that actually determines whether your HVAC system works well for decades or struggles from day one. The rough-in process happens before your walls close, and it’s the moment when duct paths are locked in, refrigerant lines are run, and electrical wiring for controls is established. Get this phase right, and your system will deliver the comfort you paid for. Overlook it, and no amount of premium equipment will fix the problems sealed behind your drywall.
Table of Contents
- What is the HVAC rough-in process?
- Why rough-in inspections matter
- Steps in the HVAC rough-in process
- Common mistakes and how to avoid them
- Final checks: Verifying your HVAC rough-in for long-term performance
- A homeowner’s reality check: What most guides leave out about HVAC rough-in
- Need help with your HVAC project?
- Frequently asked questions
Key Takeaways
| Point | Details |
|---|---|
| Rough-in phase timing | The HVAC rough-in happens before drywall installation and ensures all system elements are accessible for inspection. |
| Inspection purpose | Inspections at rough-in catch mistakes while they are still fixable and are required for code compliance. |
| Avoiding common errors | Proper planning, duct design, and commissioning steps prevent costly HVAC problems after walls close. |
| Homeowner involvement | Being present for the rough-in process allows you to ask questions and confirm quality before construction continues. |
What is the HVAC rough-in process?
To understand its importance, let’s define what the HVAC rough-in process includes and when it fits into your renovation timeline.
The HVAC rough-in is the installation phase where all major system components are placed, routed, and connected before the walls are closed with drywall. Think of it as the skeleton of your HVAC system. Everything is visible, accessible, and inspectable. Once the drywall goes up, those components are hidden forever, and fixing them becomes an expensive, disruptive project.
During rough-in, your HVAC contractor handles several key tasks:
- Ductwork installation and sealing: Supply and return ducts are cut, assembled, and sealed to prevent air leakage
- Refrigerant line placement: Copper refrigerant lines run between indoor and outdoor units
- Gas line and venting work: Where applicable, gas lines and flue vents for furnaces and boilers are installed
- Electrical rough-in: Low-voltage wiring for thermostats and control systems is run to junction points
A rough-in inspection is typically scheduled before drywall is installed so the inspector can verify work that would be concealed, including duct routing and sealing, refrigerant line placement, gas venting, and electrical rough-ins for HVAC controls.
“The rough-in phase is your last clear opportunity to catch problems before they become buried problems. Once the walls close, every fix costs significantly more.”
Pro Tip: Ask your contractor to take photos and short videos of each rough-in component before the drywall goes up. This documentation becomes invaluable if you ever need to trace a duct or locate a line years later.
This phase is not optional. Most municipalities in New Jersey require a passed rough-in inspection before any drywall is permitted. It’s a required milestone in the construction sequence, not an administrative formality.
Why rough-in inspections matter
Once the rough-in elements are installed, inspections become the next crucial step. Here’s why this phase can’t be skipped or rushed.
The whole point of a rough-in inspection is to catch problems while they’re still fixable without tearing apart finished walls. Inspectors aren’t just checking boxes. They’re looking at real safety and performance issues that would be invisible to a homeowner after drywall installation.
Here’s what happens during a standard HVAC rough-in inspection:
- Duct routing review: The inspector confirms ducts follow an approved path, are properly supported, and don’t conflict with structural elements
- Sealing verification: All duct connections must be sealed with mastic or UL-listed tape to prevent conditioned air from leaking into unconditioned spaces
- Refrigerant line check: Lines are inspected for proper sizing, protection from physical damage, and correct installation technique
- Gas line and venting inspection: If your system uses natural gas, the inspector verifies line sizing, shut-off valve placement, and flue venting orientation
- Electrical rough-in review: Control wiring, junction boxes, and disconnect locations are checked for code compliance
- Permit and documentation review: The inspector confirms all work matches the approved permit drawings
A rough-in inspection is intentionally scheduled before walls are closed so inspectors can verify concealed elements. Homeowners should treat that as a gating milestone rather than an afterthought.
As a homeowner, your role isn’t passive here. You should know when the inspection is scheduled, confirm that your contractor has pulled the required permit, and ideally attend the inspection yourself. If the inspector flags an issue, you want to hear it firsthand, not filtered through a contractor who may be motivated to minimize the problem.
“Failing a rough-in inspection and having to correct work before the walls close is far better than passing and discovering comfort problems after move-in.”
Steps in the HVAC rough-in process
Now that you know why this inspection is required, let’s outline what actually happens during the HVAC rough-in phase.
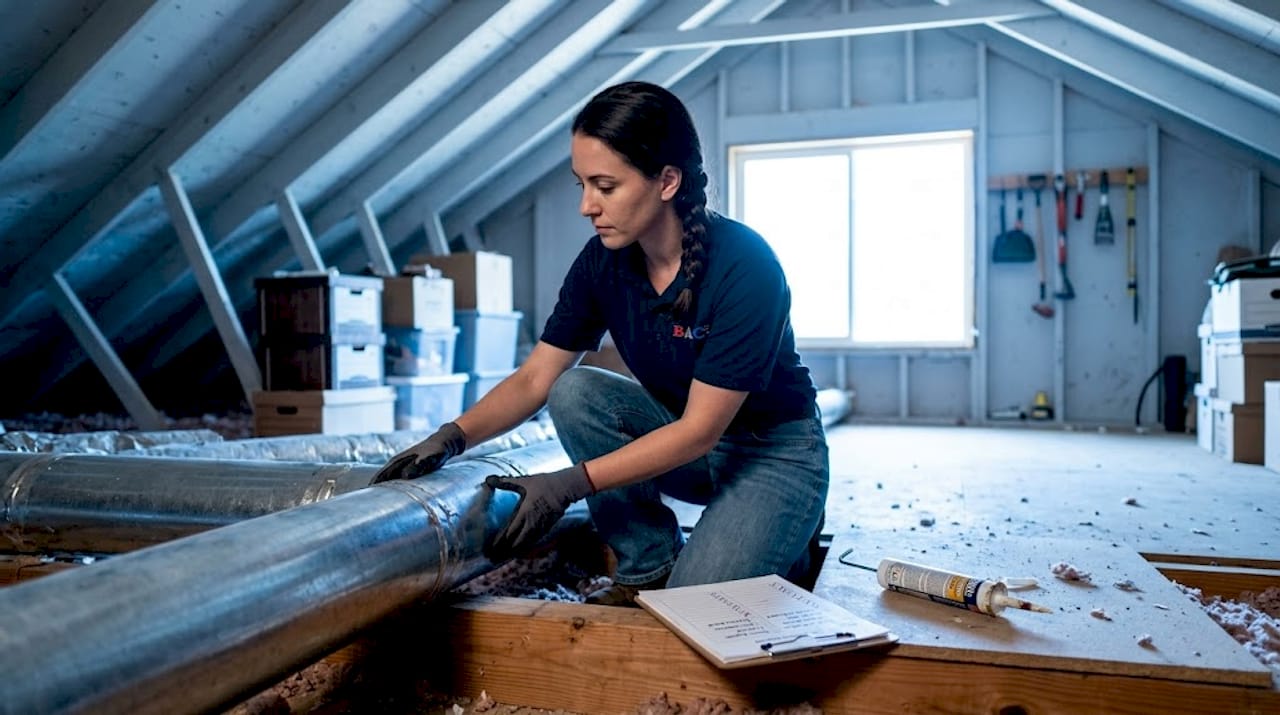
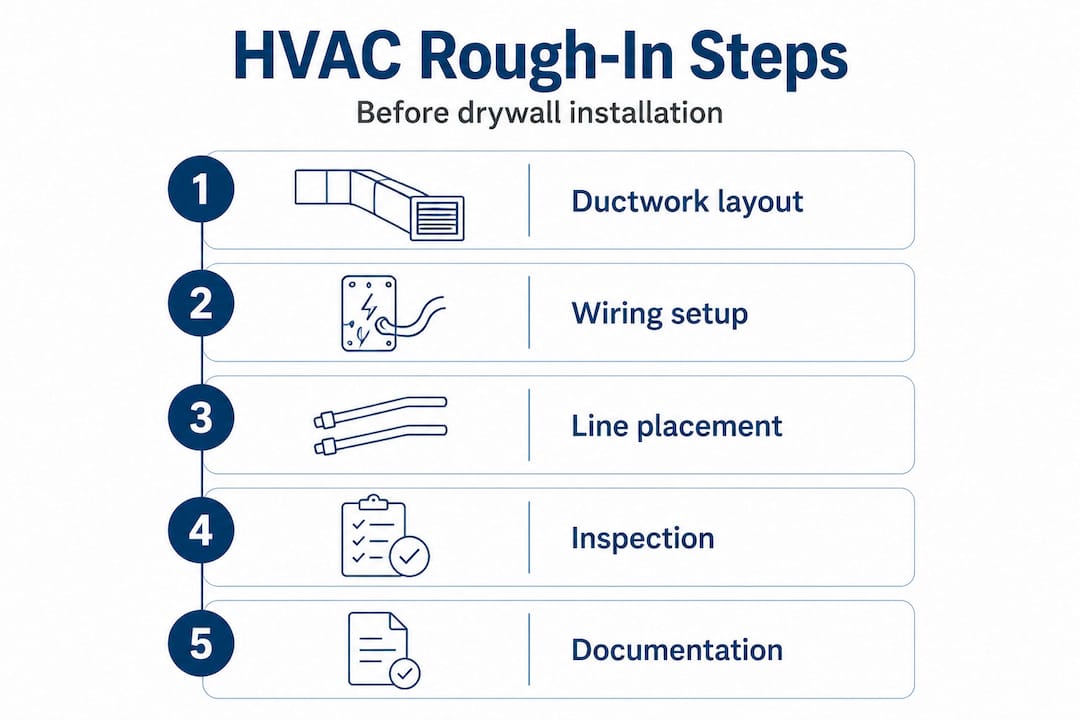
A permit and inspection guide explains that HVAC inspections often happen in rough-in and final stages, with rough-in performed before walls are sealed and covering ductwork layout and sealing, refrigerant line placement, gas line installation and venting, and electrical rough-ins for HVAC controls.
The process follows a logical sequence:
- Load calculation: Before anything is installed, your contractor calculates how much heating and cooling your home actually needs. This determines equipment size and duct sizing.
- System layout and duct design: Based on load results, a duct layout is designed that delivers the right airflow to each room.
- Ductwork fabrication and installation: Ducts are cut, assembled, and installed along the planned routes, then sealed at every connection point.
- Refrigerant line installation: Copper lines are run from the air handler to the outdoor condenser, protected and properly insulated.
- Gas line and venting work: For gas-powered systems, lines and vents are installed per code requirements.
- Electrical rough-in: Thermostat wiring, control wiring, and any necessary disconnect switches are installed.
- Rough-in inspection: A licensed inspector reviews all installed work against code standards before drywall can proceed.
| Rough-in component | What inspectors check |
|---|---|
| Ductwork | Routing, support spacing, sealing at joints |
| Refrigerant lines | Size, protection, insulation quality |
| Gas lines | Sizing, shut-off valves, leak testing |
| Venting and flues | Direction, clearance, proper termination |
| Electrical rough-in | Wire gauge, junction box placement, labeling |
| Permit documentation | Match between approved drawings and installed work |
Pro Tip: Verify that your contractor uses mastic sealant, not duct tape, to seal ductwork joints. Standard duct tape fails within a few years, while mastic creates a permanent airtight seal. This single detail can significantly affect energy efficiency and air changes and HVAC efficiency throughout your home’s life.
Common mistakes and how to avoid them
While the rough-in process is standardized, certain mistakes can haunt homeowners for years. Let’s spotlight these risks and how to sidestep them.
The most expensive HVAC problems aren’t usually equipment failures. They’re installation errors that get sealed inside walls and cause years of subpar performance. According to common HVAC installation mistakes, the most damaging failures during and after rough-in include skipping proper load calculations, poor duct design, and inadequate commissioning.
Here’s what each of these looks like in practice and why they hurt you:
Skipping load calculations: Some contractors skip the Manual J load calculation (the industry standard method) and just replace equipment with the same size as before, or guess based on square footage. This almost always results in a system that’s either too large or too small. An oversized system short-cycles, meaning it turns on and off too quickly to properly dehumidify your home. In New Jersey summers, that means a cold but clammy house.
Poor duct design: Duct performance can fail even when ductwork looks professionally installed. High static pressure inside ducts forces the blower motor to work harder, reduces airflow to distant rooms, increases energy costs, and shortens the system’s life. This problem is invisible until the system runs.
Skipping commissioning: Commissioning is the verification step that happens after installation. It confirms that airflow readings match the design, that refrigerant charge is correct, and that the system operates as intended. When this step is skipped, everything may look fine but perform poorly.
| Common mistake | Impact on your home | How to avoid it |
|---|---|---|
| Skipping load calculations | Wrong equipment size, comfort problems | Require written Manual J report before installation |
| Poor duct design | Uneven temperatures, high energy bills | Ask for a duct design based on load results |
| Unsealed duct connections | 20 to 30% conditioned air loss | Verify mastic or UL tape is used at all joints |
| Skipping commissioning | System underperforms despite new equipment | Require written commissioning report at project close |
| Incorrect refrigerant charge | Reduced efficiency, compressor damage | Confirm technician verifies superheat and subcooling |
- Demand a written load calculation before any equipment is selected
- Ask to see the duct design plan before installation begins
- Confirm commissioning is included in your project scope, not an add-on
- Verify all permit inspections are scheduled and passed before drywall
These mistakes are preventable. The problem is that many homeowners don’t know to ask for this documentation until after problems appear.
Final checks: Verifying your HVAC rough-in for long-term performance
Avoiding mistakes is one thing. Proactive verification ensures your investment truly delivers. Here’s what to look for before you give the green light.
Even when your rough-in inspection passes, that doesn’t mean the system is fully verified for performance. Commissioning is the step that verifies airflow and refrigerant charge before you can rely on comfort claims, and it can’t be replaced by an inspection alone. A code inspection confirms that work is safe and legal. Commissioning confirms it works correctly.
Before you authorize the walls to close, run through this verification list:
- Get written inspection confirmation: Your contractor should provide documentation that the rough-in inspection was passed, not just tell you verbally
- Review the commissioning plan: Confirm that airflow measurements and refrigerant charge verification are on the project schedule
- Check duct sealing visually: Before drywall, walk the accessible areas and look for missing mastic or gaps at duct joints
- Confirm thermostat wiring is labeled: Labeling control wires now saves real headaches during commissioning and future service calls
- Verify refrigerant line insulation is complete: Exposed or damaged insulation causes condensation and energy loss
- Confirm proper system setup documentation is part of your project deliverables
Pro Tip: Before the drywall crew shows up, ask your HVAC contractor for a static pressure reading on the duct system. It should be within the equipment manufacturer’s specifications. A reading that’s too high signals a design problem that needs to be corrected while access is still easy.
Don’t let schedule pressure rush this phase. Builders and contractors often feel urgency to close walls and move to the next phase. Your long-term comfort is worth a few extra days of verification.
A homeowner’s reality check: What most guides leave out about HVAC rough-in
Here’s the truth that most HVAC articles won’t tell you: passing the rough-in inspection is not the finish line. It’s the start line.
Inspectors are looking for safety and code compliance. They are not running airflow tests, checking refrigerant charge, or verifying that your master bedroom gets proper airflow. Those are commissioning tasks, and they fall entirely on your contractor. If your contractor doesn’t value commissioning, the inspector will never catch the gap.
We’ve seen plenty of systems in New Jersey homes that passed every inspection but delivered uneven temperatures, high energy bills, and frequent short-cycling from the very first season. The root cause in most cases? Poor duct design or skipped commissioning. The walls were closed, the permits were signed, and nobody caught the problem until the homeowner was already living with it.
The contractors who do this work right are transparent about their process. They show you load calculations upfront. They provide a written commissioning report when the job is done. They don’t treat verification as extra work. They treat it as standard practice.
Our advice: choose your HVAC contractor the same way you’d choose a surgeon. Credentials matter. Experience matters. But so does their process. Ask specifically how they handle commissioning. Ask what documentation they provide at project close. If the answer is vague or dismissive, that’s a red flag worth taking seriously.
The rough-in phase is your best leverage point. Once those walls close, your negotiating position drops significantly. Use the window before drywall to confirm every detail, ask every question, and get every commitment in writing.
Need help with your HVAC project?
If this process sounds detailed, that’s because it is. And getting it right from the start saves New Jersey homeowners thousands of dollars in rework, energy waste, and comfort problems down the road.

Working with local HVAC experts who know New Jersey building codes, permit requirements, and inspection standards takes the guesswork out of every stage of your project. At Brighton Air Corp, we’ve been handling residential HVAC installations since 1993, and our team brings over 150 years of combined technician experience to every job. We pull the permits, manage the inspections, and deliver documented commissioning reports so you know your system is set up correctly before the walls ever close. Contact us today for a free estimate and let’s build your project the right way from day one.
Frequently asked questions
When is the HVAC rough-in inspection scheduled?
The rough-in inspection is done after ducts, lines, and wiring are installed but before drywall is sealed, giving inspectors access to all concealed work that would be hidden once walls close.
What does the inspector check during an HVAC rough-in?
Inspectors review duct layouts, refrigerant line placement, venting, and control wiring for code compliance. A full rough-in inspection typically covers ductwork sealing, gas line installation, and electrical rough-ins before walls are sealed.
What are the most common mistakes during HVAC rough-in?
Skipping load calculations, poor duct design, and not verifying airflow or refrigerant levels are the top mistakes. These common installation failures cause lasting comfort and efficiency problems that are difficult to fix after walls close.
Should homeowners be present for the rough-in inspection?
Yes. Attending the inspection lets you ask the inspector direct questions and hear any concerns firsthand before the contractor addresses them and the opportunity to ask follow-up questions disappears behind drywall.
Why is commissioning important after rough-in?
Commissioning verifies that airflow and refrigerant charge are correct for real-world performance, not just code compliance. Skipping commissioning means a system can pass every inspection and still underperform from its first day of operation.