
Fix HVAC Noise Fast: 6 Low Cost Checks Before Calling a Pro
Fix HVAC Noise Fast: 6 Low Cost Checks Before Calling a Pro
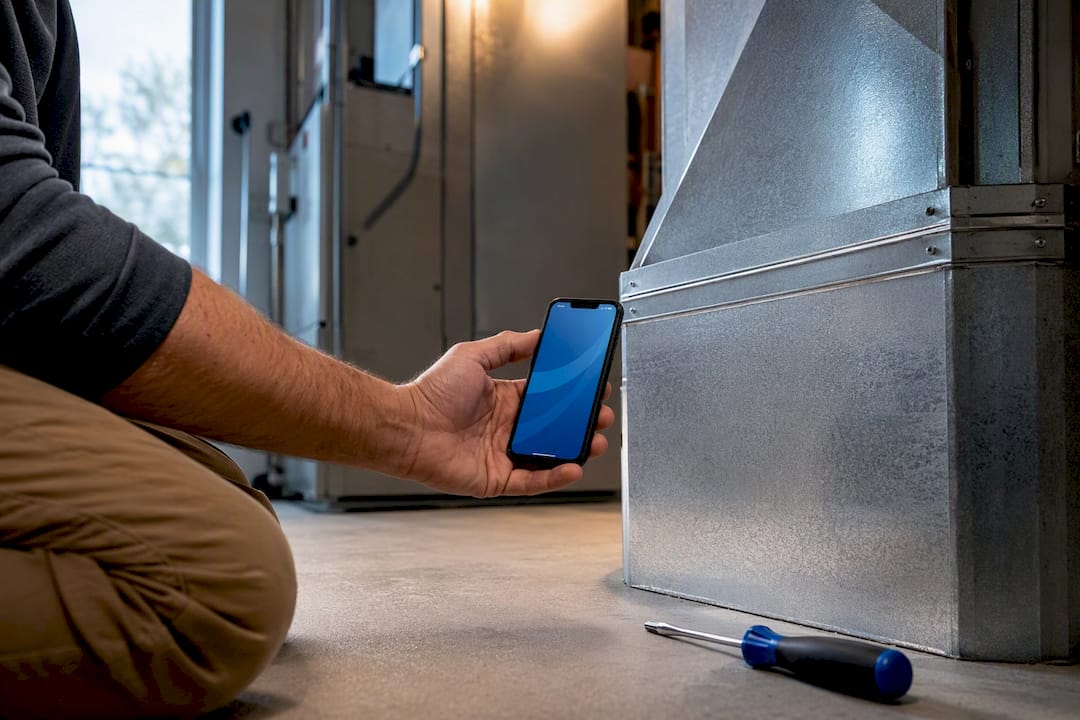
Most HVAC noise problems get solved by identifying the exact source first, then applying one targeted fix. Rattles usually mean loose grilles or debris. Whooshing points to airflow velocity. Rumbling and buzzing point to vibration transfer. Start with filters, registers, and flexible connectors before spending money on materials, as these common issues often resolve many HVAC noise complaints. Persistent low-frequency rumble or noise tied to system startup usually means it’s time to call a professional.
TL;DR:
- Most HVAC noise issues are caused by airflow velocity, vibration transfer, or structural expansion, requiring targeted fixes based on specific sound sources.
- Basic maintenance steps, like replacing filters, sealing duct leaks, and inspecting flexible connections, often resolve common noise complaints without additional costs.
- Mechanical vibration is best addressed with anti-vibration mounts and flexible connectors, while airflow noise can be reduced by enlarging ducts or smoothing transitions.
- Duct lining and silencers work effectively for airflow-generated noise and crosstalk between rooms, but improper sizing or placement can worsen the problem.
- Call a professional if persistent low-frequency rumbling remains after basic checks, especially when issues involve system installation, vibration paths, or complex duct modifications.
Table of Contents
- What Causes HVAC Noise, and How Do You Identify the Source?
- Quick, Low-Cost Fixes to Try First
- Which Fix Matches Which Noise Problem?
- Which Acoustic Materials Actually Work?
- When Should You Call an HVAC Professional?
- What Brighton Air Corp Sees in the Field
- Get a Noise Diagnosis From Brighton Air Corp
- Sources
- FAQ
What Causes HVAC Noise, and How Do You Identify the Source?
Before touching anything, listen. Walk the house or building room by room with the system running, then again with it off, and note exactly where the sound changes. This isolates whether you’re dealing with an airflow problem, a vibration problem, or something structural.
Different sounds point to different mechanisms:
- Whoosh or roar at registers usually means air velocity is too high for the duct size or the register is too small for the airflow passing through it.
- Whistling at a single vent almost always traces to a partially closed damper or an undersized grille opening.
- Humming or buzzing that changes pitch with the compressor cycle points to mechanical vibration transferring through rigid connections.
- Rumbling felt through walls or floors, especially at low frequency, usually means the unit isn’t isolated from the structure.
- Popping or ticking, especially at startup or shutdown, is almost always thermal expansion as metal ductwork heats and cools.
- Crosstalk, where you hear conversation or noise from another room through the vents, means duct walls are too thin or runs are too short between rooms.
Touch the ductwork near the air handler while the system runs. If it’s vibrating and the noise gets louder near a specific joint or hanger, you’ve found a mechanical vibration path rather than an airflow issue. For commercial buildings where tenants complain about background hum, facility managers sometimes need actual sound-level readings rather than guesswork, referencing frequency bands like NC (Noise Criteria) or RC (Room Criteria) ratings that acousticians use to set targets. OSHA’s noise guidance offers a useful baseline for what counts as an unacceptable exposure level in occupied commercial spaces.
Pro Tip: Record the sound on your phone at the source and at three feet away. Playing it back for a technician over the phone often speeds up diagnosis before they even arrive.
Quick, Low-Cost Fixes to Try First
Before buying any acoustic material, work through these checks in order. Most noise complaints get resolved at this stage without spending a dollar on parts.
- Replace the filter. A clogged filter restricts airflow, forcing the blower to work harder and generating more noise at the same time it strains the motor.
- Check every register and grille. Loose screws cause rattling; fully open all dampers unless a room specifically needs reduced flow, since a nearly shut damper is a common source of whistling.
- Clear debris from vents and returns, especially in homes with pets or after construction work nearby; see this guide on why air ducts need regular cleaning for detailed benefits.
- Inspect flexible ductwork for sag. A run that’s sagged or kinked between joists creates turbulence noise and reduces airflow, and it usually just needs a strap tightened or added.
- Seal visible duct leaks with mastic or foil tape, not standard cloth duct tape, which dries out and fails within a couple of years.
- Look for rigid metal-to-metal contact at the fan connection. If the ductwork bolts directly to the air handler with no flexible connector in between, that’s a direct path for vibration to travel through the whole duct system, and adding a short flexible connector or rubber isolation grommets at the mounting points is one of the cheapest fixes available.
Which Fix Matches Which Noise Problem?
Once you know the mechanism, the solution usually follows directly. Guessing at fixes without this mapping is why homeowners spend money on soundproofing that does nothing for a vibration problem.
For airflow and turbulence noise: the underlying issue is usually velocity, not volume. Oversized fans forcing air through undersized ducts create turbulence noise that gets worse the harder you push it. Fixes include enlarging duct sections, adding turning vanes at sharp elbows, smoothing transitions between duct sizes, and installing internal duct silencers where velocity can’t be reduced structurally. Every one of these options adds some static pressure resistance, so a contractor needs to check the fan can still deliver design airflow after the change.
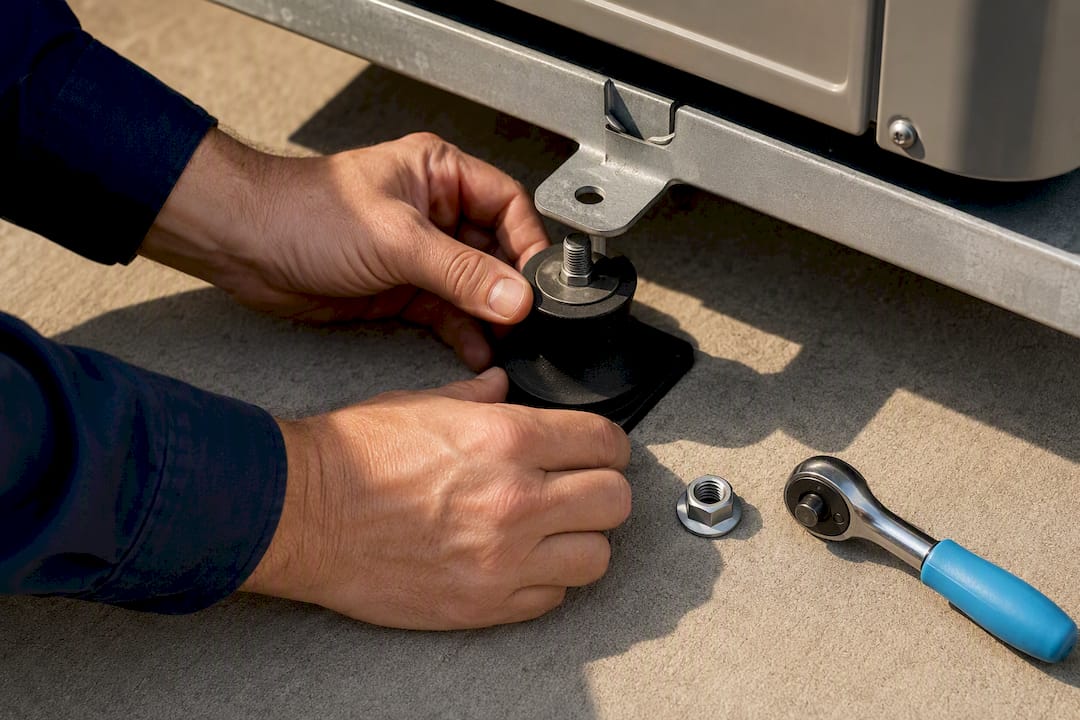
For mechanical vibration: anti-vibration mounts under the outdoor condenser, spring or neoprene hangers on suspended ductwork, and flexible connectors at the fan are the standard toolkit. This is often the single most effective retrofit for structure-borne noise, largely because it’s cheap and doesn’t touch airflow performance at all.
For thermal expansion popping: the fix is almost always mechanical clearance, not material. Check that hangers allow the duct to expand and contract freely, and add foam sleeves where ductwork passes through wall penetrations or tight framing. This resolves most startup ticking and popping without touching the duct’s insulation or lining.
For crosstalk between rooms: internal duct lining absorbs sound trying to break through thin duct walls, and adding a branch silencer at a takeoff can stop sound from carrying room to room through a shared trunk line.
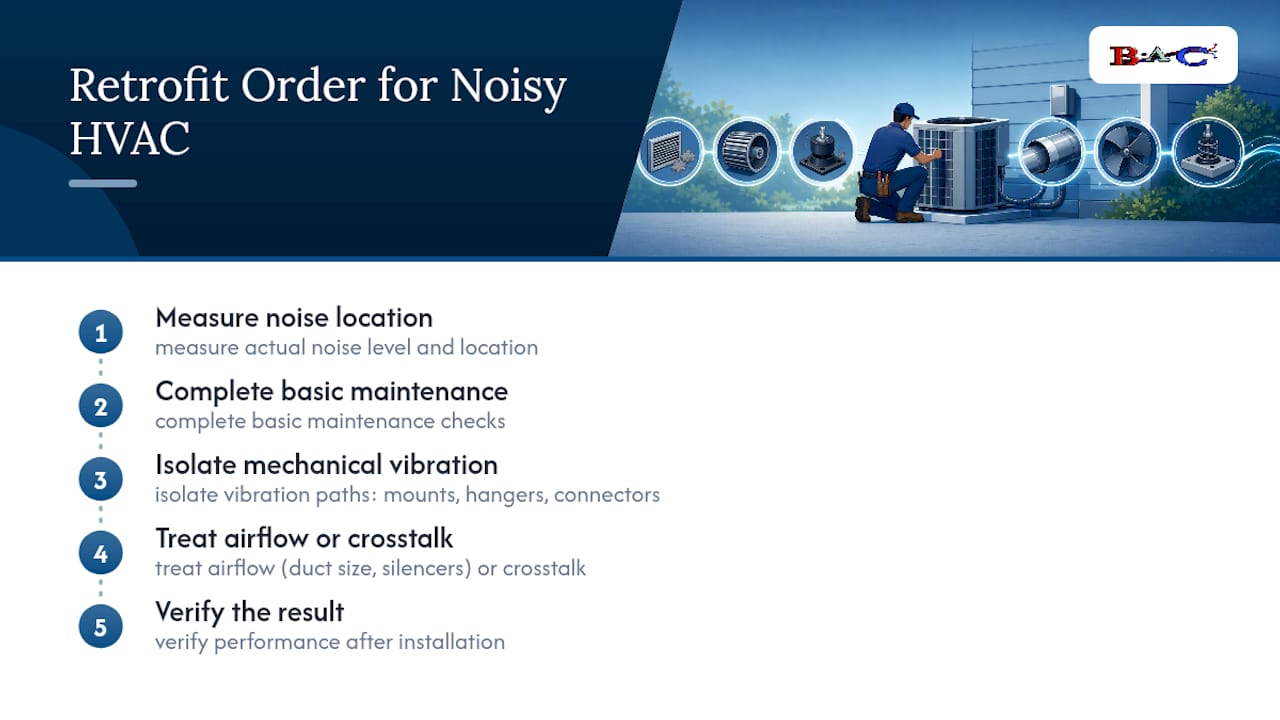
The efficient retrofit order is: measure the actual noise level and location, complete basic maintenance, isolate mechanical vibration paths, then treat remaining airflow or crosstalk noise, and verify the result once installed. Skipping straight to treatment before ruling out maintenance issues is the most common wasted expense homeowners run into.
Design-phase acoustic planning costs roughly 1% to 2% of total HVAC system cost, while retrofitting a noisy system after installation runs considerably higher. That gap is exactly why diagnosis matters before spending on materials.
Which Acoustic Materials Actually Work?
Not every acoustic product solves every problem, and picking the wrong one wastes money without fixing anything.
- Internal fiberglass duct liner is the standard choice for absorbing airflow-generated noise inside the duct. Testing under ASTM E477 shows fiberglass liner delivers three to four times the insertion loss of foam liners at low frequencies in typical duct sizes, meaning foam often needs a much longer installed length to match fiberglass performance where it counts most.
- External duct wrap and mass-loaded vinyl address casing-borne noise breaking through duct walls into occupied space, but they do nothing for airflow noise traveling down the inside of the duct. Wrapping a duct that whistles from a restricted damper is wasted material and labor.
- Duct silencers are engineered devices rated by three numbers: insertion loss (how much noise they remove), self-generated noise, and pressure drop. Industry guidance from AMCA recommends keeping pressure drop under roughly 0.35 inches water gauge to avoid regenerating noise or straining the fan.
- Flexible connectors and vibration isolation pads handle mechanical transfer at the equipment, not airborne sound in the duct itself.
Before selecting any product, check local fire code requirements for duct insulation, confirm the added static pressure won’t undersize your fan’s capacity, and set a realistic NC or RC target with whoever’s doing the installation.
When Should You Call an HVAC Professional?
Some noise problems are diagnosable and fixable with a screwdriver and a tube of mastic. Others need equipment and experience.
Call a professional when you’re dealing with low-frequency rumble that persists after checking isolation mounts, when noise seems tied to how the system was originally installed rather than a single failed part, or before installing a duct silencer, since changing system pressure without checking the fan’s operating point can create new problems.
A proper diagnostic visit includes mapping the sound source room by room, measuring duct velocity at suspect runs, and physically checking every vibration path from the outdoor unit through to the supply registers. Simple fixes like isolation pads or flexible connectors are typically same-day jobs. Duct modifications or silencer installations usually take longer and cost more, with the range depending heavily on duct accessibility, building type, and whether ceiling or wall access requires opening finished surfaces.
What Brighton Air Corp Sees in the Field
Most noise calls we get trace back to system integration, not a single bad part: a damper installed half shut, a flex connector skipped to save labor, ductwork undersized for the fan it’s paired with. Diagnosis first, then a targeted fix, resolves the majority of residential and commercial cases we see without a full duct replacement. When a noise complaint comes with a system that’s failing outright, our emergency service line runs around the clock.
— John
Get a Noise Diagnosis From Brighton Air Corp
If you’ve worked through the filter, grille, and connector checks and the noise is still there, the next move is a professional diagnostic rather than more guessing. Some HVAC service companies have extensive experience troubleshooting HVAC systems for integration problems that homeowners can’t easily trace alone.

A diagnostic visit covers exactly what’s outlined above: source mapping, duct inspection, and a check of every vibration path from the outdoor unit to your registers. You’ll get a clear answer on the estimated cost of the fix along with an estimate before any work starts. Request a diagnostic visit and get your system quiet again without paying for guesswork.
Sources
- Insulating to mitigate HVAC duct noise | ACHR News
- Understanding & Reducing Air System Noise (AMCA guidance)
- Noise (OSHA)
FAQ
What Is the $5,000 Rule for HVAC?
The rule of thumb for deciding repair versus replacement varies, but generally, if repair costs multiplied by the unit’s age get high enough, replacement is often the better financial choice. It doesn’t apply specifically to noise complaints, but a system racking up repeated noise repairs alongside other issues is worth considering carefully.
How Can I Reduce Noise Traveling Through My HVAC Vents?
Internal duct lining and branch silencers reduce crosstalk between rooms sharing the same trunk line, while sealing duct leaks and tightening loose registers stops rattling and whistling at the vent itself. For airflow noise specifically, reducing duct velocity through proper sizing solves the problem at the source rather than just muffling it.
What Is an HVAC Silencer?
An HVAC silencer, or duct attenuator, is a section of ductwork lined internally to absorb sound energy as air passes through, rated by insertion loss, generated noise, and pressure drop. Correct sizing and placement matter because an undersized or poorly placed silencer can regenerate noise or strain the fan instead of quieting it.
How Can I Reduce the Noise From My HVAC Fan?
Check for rigid metal-to-metal contact between the fan and ductwork first, since a missing flexible connector is one of the most common and cheapest causes of fan noise transferring into the building. If the fan itself is worn or unbalanced, that’s a mechanical issue a technician needs to inspect directly rather than something you can isolate your way around.