
How to Prepare Your HVAC System for Summer
How to Prepare Your HVAC System for Summer
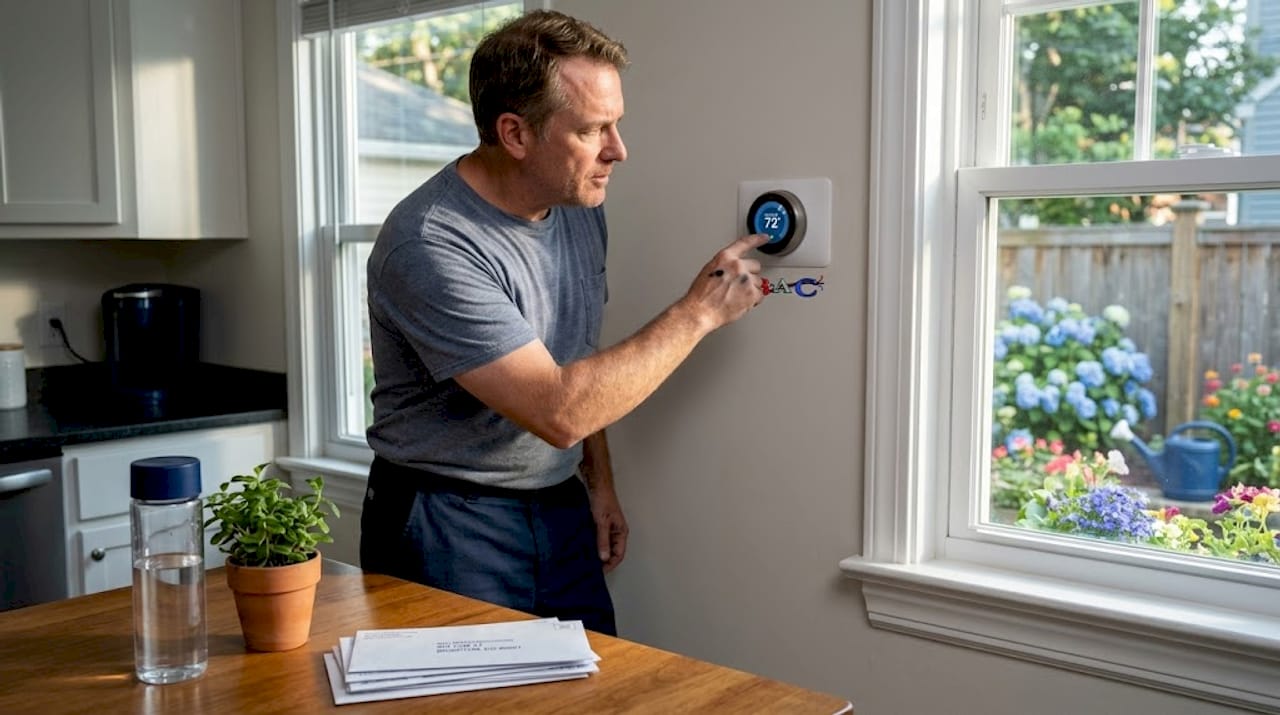
Most homeowners don’t think about their air conditioning until the first sweltering day of July, and by then it’s too late. A system that sat idle through fall and winter is not ready to run eight hours a day in 90-degree heat. When you properly prepare your HVAC system for summer before temperatures climb, you avoid breakdowns during the worst possible week, keep your energy bills reasonable, and stay comfortable when it counts. This guide walks you through exactly what to do, from the tools you need to the tasks best left to a licensed technician.
Table of Contents
- Key Takeaways
- How to prepare your HVAC system for summer
- Tools and materials you will need
- Step-by-step DIY maintenance tasks
- When to call a professional
- Signs your HVAC needs service before summer
- My take on summer HVAC preparation
- Ready to get your system set for summer?
- FAQ
Key Takeaways
| Point | Details |
|---|---|
| Start before the heat hits | Begin your summer HVAC maintenance in early spring to catch problems before peak demand. |
| Filter replacement matters most | Replace air filters every 30 to 90 days to prevent airflow restrictions and coil freeze. |
| Clear the outdoor unit | Keep at least two feet of clearance around your condenser to maintain proper cooling. |
| Know your DIY limits | Refrigerant and electrical repairs require a licensed technician. Never attempt them yourself. |
| Schedule a professional tune-up | Annual professional service prevents up to 5% annual efficiency loss and costly emergency calls. |
How to prepare your HVAC system for summer
Starting your summer prep early is the single most important thing you can do. Think of your HVAC system like a car coming out of winter storage. You wouldn’t drive it 500 miles without checking the oil, tires, and coolant first. The same logic applies here. Seasonal HVAC maintenance reduces emergency repair calls, lowers energy bills, and improves home comfort during peak summer heat. Starting in March or April gives you time to schedule a professional if your initial checks turn up a problem.
The good news is that a cooling system summer checklist does not require advanced technical knowledge. Most of the preparatory work falls into two categories: tasks you handle yourself and tasks a certified technician should own. This article covers both.
Tools and materials you will need
Before you start any maintenance work, gather the right supplies. Going in unprepared means stopping halfway through to make a hardware store run, which usually doesn’t happen.
Here is what you need on hand before you begin:
- Replacement air filters (the correct size for your system, in the right MERV rating)
- Garden hose for rinsing the outdoor condenser fins
- Fin comb to straighten bent aluminum fins on the condenser coil
- Distilled white vinegar for clearing the condensate drain line
- Wet/dry vacuum to suction out stubborn drain line clogs
- Screwdriver set for removing panels and access covers
- Safety gloves and safety glasses for outdoor unit cleaning
- Flashlight for inspecting dark utility areas around air handlers
The safety equipment is not optional. The condenser’s aluminum fins are sharp, and standing water near your air handler can be a slip hazard. Take two minutes to gear up properly before you start.
Pro Tip: Buy two or three replacement filters at once so you have them ready for mid-season swaps. Filters go on sale in spring, and you will pay more for them in July when everyone else needs them too.
Step-by-step DIY maintenance tasks
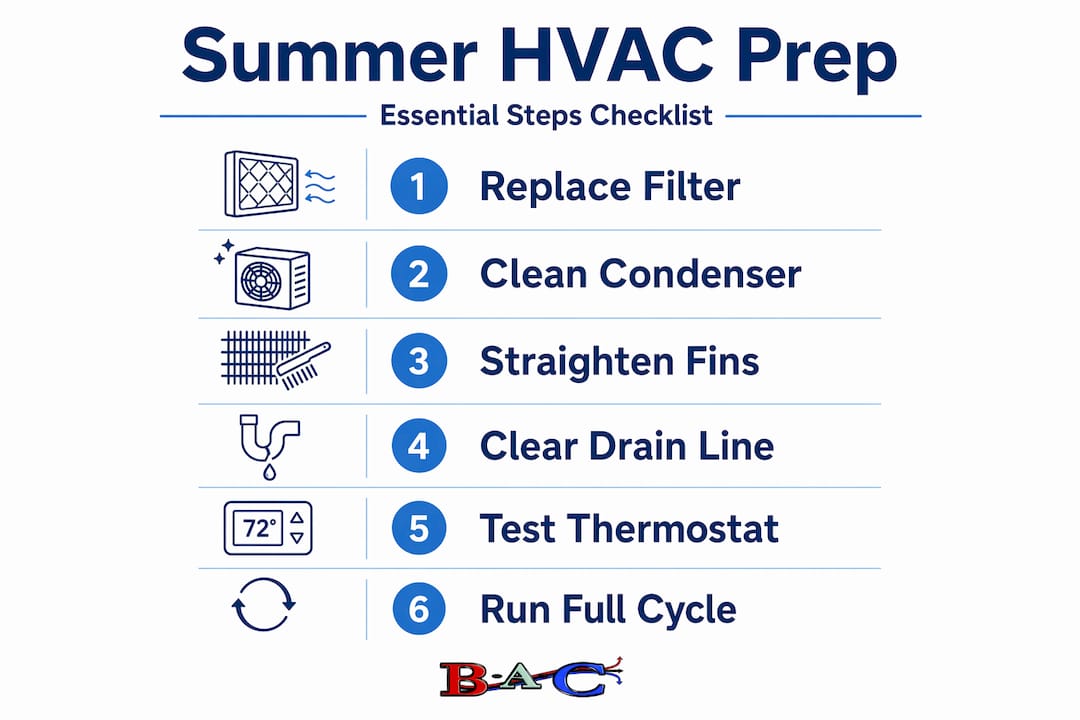
This section is the core of your HVAC summer prep. Work through these steps in order, and you will cover the most common causes of summer system failures.
Step 1: Replace the air filter
This is the fastest and most impactful task on your entire list. Changing air filters every 30 to 90 days during heavy use prevents reduced efficiency and coil freeze. A frozen evaporator coil is one of the most common summer service calls, and in most cases it traces back to a clogged filter that nobody changed.
When selecting your replacement filter, pay attention to the MERV rating. The EPA recommends MERV 13 or the highest rating your system can handle. Higher ratings trap more particles and improve indoor air quality. However, filters that are too restrictive for your system actually reduce airflow and create the same problem as a dirty filter. Check your system’s manual for the manufacturer’s recommendation if you are unsure.
Step 2: Clear and clean the outdoor condenser unit
The outdoor unit pulled in everything the New Jersey wind carried last fall and winter. Leaves, seed pods, dirt, and grass clippings pack into the fins and restrict airflow. Start by turning off the power to the unit at the disconnect box near the condenser before you touch anything.
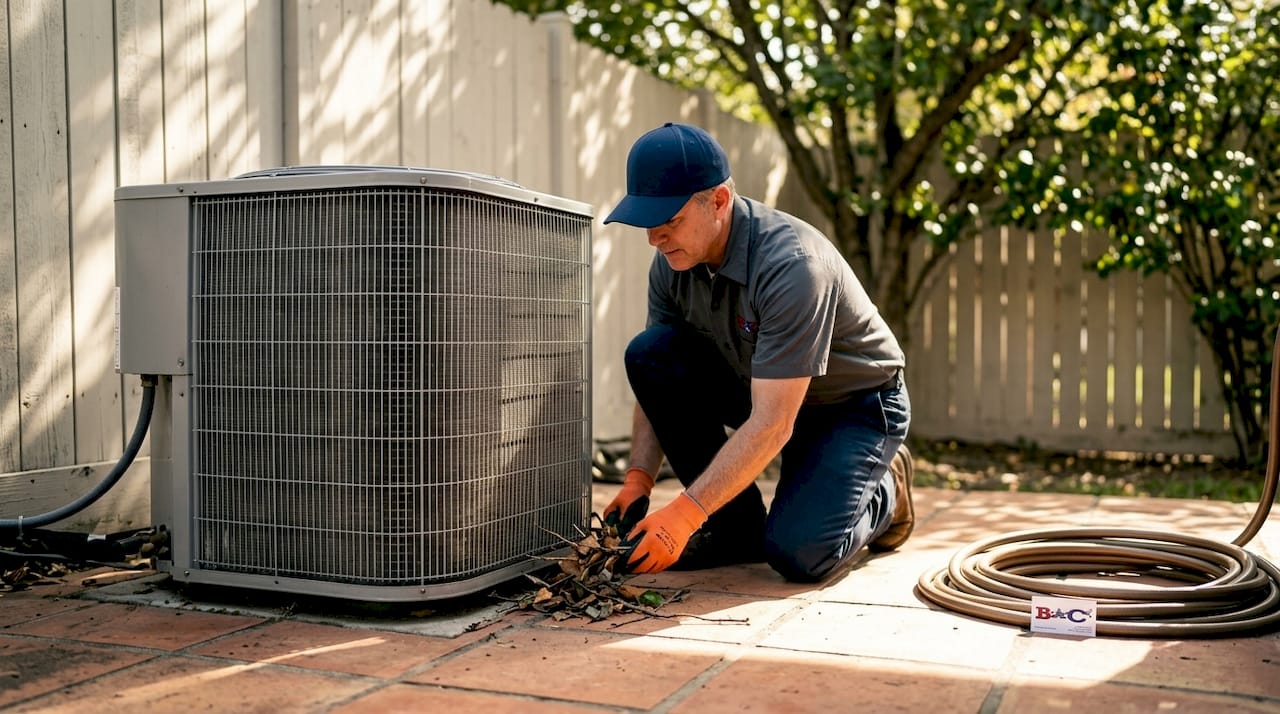
Remove any debris by hand. Then use a garden hose on a gentle setting to spray the fins from the inside out, pushing dirt outward rather than deeper into the coil. Maintain at least two feet of clearance around the unit on all sides. Check for any shrubs or fence panels that grew or shifted over winter and trim back as needed. Debris buildup around the condenser strains the compressor, which is the most expensive component in your system.
Step 3: Straighten bent condenser fins
When you look closely at the condenser coil, you will often see fins that look bent or crushed. This happens from hail, yard work, or just handling. Bent fins block airflow and reduce heat transfer. A fin comb, which costs about $10 at any hardware store, slides between the fins and restores them to their original spacing. Work in the direction of the fins, not against them.
Step 4: Clear the condensate drain line
Your air conditioner pulls humidity out of your home’s air and drains that water through a condensate line. Over winter, algae and mold can build up in that line and clog it. A clogged drain causes water to back up into the air handler, which can damage your ceiling, walls, or flooring.
Pour about a cup of distilled white vinegar into the drain line access port (usually a PVC pipe with a cap near your indoor air handler). Let it sit for 30 minutes, then flush with water. If the line is fully blocked, use a wet/dry vacuum at the outdoor end of the drain line to suction out the clog.
Step 5: Verify thermostat function and settings
Switch your thermostat from “Heat” to “Cool” and set it below your current indoor temperature. The system should respond within a few minutes. Check that air comes out of all your vents and feels cold. This test tells you immediately whether something major needs attention before summer. If you have an older thermostat, spring is a good time to upgrade to a programmable or smart model. Better scheduling can reduce cooling costs without any sacrifice in comfort.
Step 6: Run the system for a full cycle before you need it
Once you have completed the physical maintenance steps, run the air conditioning for a complete cooling cycle on a mild spring day. Listen for unusual sounds. Check that every room reaches the set temperature. Note how long the cycle takes. If it seems like the system is running longer than expected to cool the house, that is a sign that something needs professional attention before summer.
Pro Tip: Take a quick video of your running system from outside. Note any rattling, grinding, or banging sounds. If a technician visits later, that recording can speed up diagnosis significantly.
When to call a professional
There is a clear line between what homeowners can safely handle and what requires a licensed HVAC technician. Knowing where that line sits can save you money and prevent serious injury.
Professional HVAC maintenance includes coil cleaning, refrigerant level checks, and electrical safety inspections that optimize cooling and reliability. These are not DIY tasks. A professional tune-up typically covers:
- Measuring refrigerant charge and checking for leaks
- Cleaning the evaporator coil, which lives inside the air handler
- Inspecting and tightening all electrical connections
- Testing capacitors and contactors for wear
- Checking blower motor operation and belt tension
- Verifying duct integrity and measuring airflow
Do not attempt refrigerant or electrical repairs yourself. Refrigerant is a regulated substance, and adding refrigerant without fixing the underlying leak is a waste of money. Electrical repairs near the capacitor carry a genuine risk of serious injury even when the unit appears to be off.
Timing matters too. HVAC systems lose about 5% efficiency annually without professional service. Scheduling your tune-up in March or April means you get a technician before the summer rush, often at a better rate, and you have time to order parts if something needs repair.
A spring tune-up that costs a few hundred dollars is far less painful than an emergency service call on a 95-degree Saturday in August, when every HVAC company in New Jersey is already booked solid.
Signs your HVAC needs service before summer
Sometimes the system tells you it has a problem before you run any tests. These are the warning signs worth taking seriously when you check your HVAC system before summer:
- Warm air from vents in cooling mode. This is often an airflow problem. Weak cooling is commonly caused by restricted airflow across the evaporator coil from dirty or incorrect filters. Start there before assuming refrigerant is low.
- Grinding or squealing sounds. These typically point to a failing blower motor bearing or a loose belt. Both worsen quickly under summer load.
- Short cycling. If the system turns on and off every few minutes without reaching the set temperature, it may indicate a refrigerant issue, oversized equipment, or a failing thermostat.
- Higher than normal energy bills in spring. If your bill climbs before you have even switched to full cooling mode, your system is already working harder than it should.
- Water pooling near the air handler. This almost always means a clogged condensate drain line, though a frozen coil that has thawed can look similar.
Common HVAC symptoms like warm air or unusual noises often stem from airflow restrictions or mechanical wear rather than refrigerant problems, which means many issues are fixable before they become serious.
My take on summer HVAC preparation
I have worked alongside enough technicians and talked with enough homeowners to notice a consistent pattern. The people who never have a summer HVAC emergency are not the ones with the newest systems. They are the ones who treat their HVAC maintenance like an oil change. They put it on the calendar in March, they do not skip it, and they know the difference between a filter they can swap themselves and a refrigerant leak that needs a pro.
The mistake I see most often is homeowners doing either too much or too little. The “too little” crowd changes nothing and hopes for the best. The “too much” crowd tries to diagnose refrigerant issues with a YouTube video and makes things worse. The sweet spot is exactly what this article describes: own your filter changes, keep your condenser clear, flush your drain line, and hand everything else to a licensed technician once a year.
One thing I would add that most guides skip: your indoor air quality in summer matters as much as the temperature. A clean filter running at the right MERV rating does more for your family’s breathing than most air purifiers sold at retail. Don’t treat indoor air quality as a separate problem. It is part of your HVAC system’s job, and a well-maintained system does it well.
Start early, do your part, and let the pros handle the rest. That combination keeps your home comfortable all summer without drama.
— John
Ready to get your system set for summer?
If your spring checks turned up something concerning, or if it has been more than a year since a licensed technician looked at your system, now is the time to act. Waiting until July means longer waits and less scheduling flexibility.

Brighton Air Corp has served New Jersey homeowners since 1993, with technicians who carry over 150 years of combined experience. Whether you need a seasonal tune-up, a refrigerant check, or a full cooling system inspection, the team at Brighton Air Corp is ready to help you get ahead of the heat. Free estimates are available, and flexible scheduling makes it easy to get service before the summer rush.
FAQ
How often should I change my HVAC filter in summer?
Change your filter every 30 to 90 days during heavy summer use. Homes with pets or allergy sufferers should replace filters on the shorter end of that range to maintain airflow and indoor air quality.
What MERV rating filter should I use for summer?
The EPA recommends MERV 13 or the highest rating your system can handle. Check your equipment manual first, since a filter that is too restrictive for your system can reduce airflow and trigger the same problems as a dirty filter.
Can I add refrigerant to my AC myself?
No. Refrigerant handling requires a licensed technician. Adding refrigerant without fixing a leak is temporary and ineffective, and improper handling is both illegal and unsafe.
When is the best time to schedule a professional HVAC tune-up?
Early spring, between March and April, is ideal. Scheduling before the summer rush gives you better availability, and it leaves enough time to order parts and complete repairs before hot weather arrives.
Why is my AC blowing warm air?
Start with the air filter. Restricted airflow across the evaporator coil is the most common cause of weak or warm air output, and it can mimic the symptoms of low refrigerant. If a fresh filter doesn’t resolve the issue, contact a licensed technician to check refrigerant levels and electrical components.