
How a Hydronic Heating System Is Installed
How a Hydronic Heating System Is Installed
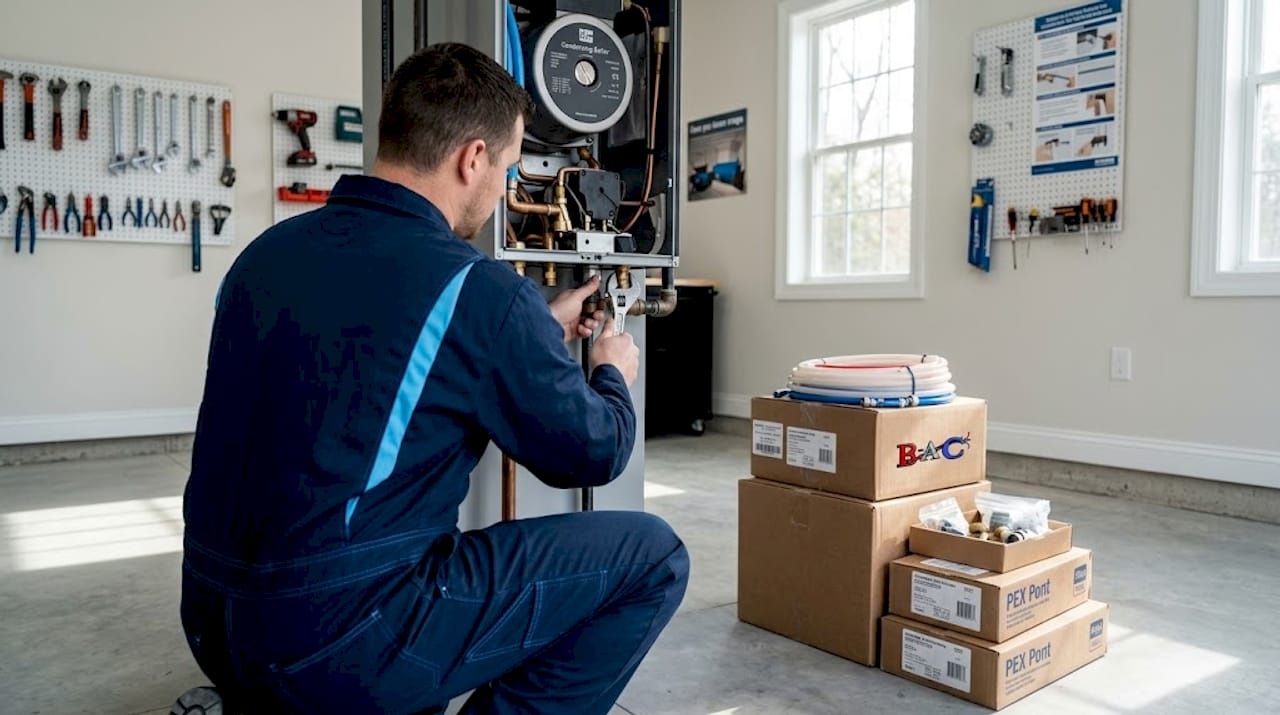
Most homeowners assume a hydronic heating setup is too complex to understand, let alone plan for. That assumption costs them money. Knowing how a hydronic heating system is installed, what components are involved, and where decisions matter most puts you in control of the project before a single pipe goes in the ground. This guide walks you through every major phase, from system components and design planning to the step-by-step installation process and ongoing maintenance, so you can make smarter decisions and avoid the expensive mistakes that trip up even experienced contractors.
Table of Contents
- Key takeaways
- How a hydronic heating system is installed: core components
- Planning and design: what to figure out before you touch a tool
- The step-by-step installation process
- Post-installation commissioning and maintenance
- Comparing installation methods and costs
- What I’ve learned homeowners consistently get wrong
- Ready to install your hydronic heating system?
- FAQ
Key takeaways
| Point | Details |
|---|---|
| Start with heat loss calculation | Sizing your system without this foundational step leads to costly rework after installation. |
| Safety controls are non-negotiable | Expansion tanks, pressure relief valves, and backflow preventers are code requirements, not optional upgrades. |
| Design zones early | Finalizing zoning and loop layouts before installation prevents tearing up floors to correct oversights. |
| Purge air before operating | Removing trapped air after install is the single biggest factor in first-season efficiency and comfort. |
| Professional input pays off | Early consultation with an HVAC specialist saves more money than it costs, especially when heat pumps are involved. |
How a hydronic heating system is installed: core components
Before any pipe gets laid, you need to know what you’re working with. A hydronic system is a closed hot-water loop that circulates heated water through emitters to warm your space. Understanding each component’s role tells you exactly why every part of the installation process matters.
Here are the primary components in any residential or commercial hydronic heating system:
- Boiler or heat source: Heats the water and drives the entire system. Modern installs often use condensing boilers or heat pumps for better efficiency.
- Circulator pump: Moves water through the loop continuously. Sizing this correctly to your pipe layout and zone count is critical.
- PEX tubing or copper pipes: PEX is the dominant choice today for in-floor radiant systems due to its flexibility and freeze resistance. Copper remains common for baseboard and panel radiator applications.
- Manifolds: These distribute water from the main supply to individual zone loops and collect the return flow. They’re the traffic directors of your system.
- Radiators or heat emitters: Could be in-floor tubing, baseboard convectors, or panel radiators. Each type transfers heat differently.
- Expansion tank: As water heats, it expands. The expansion tank absorbs that pressure to protect the system. Expansion tank lifespan typically runs 5 to 10 years.
- Pressure relief valve: A mandatory safety device that releases pressure if the system exceeds safe limits, generally around 30 psi in residential installs.
- Backflow preventer: Because hydronic water is treated with chemicals, backflow prevention stops that water from contaminating your potable supply. A Reduced Pressure Zone assembly is standard on fill lines.
- Air vents: Placed at high points in the system to allow trapped air to escape during and after commissioning.
Pro Tip: Never skip the backflow preventer or pressure relief valve to cut costs. These are plumbing code requirements in most jurisdictions, and skipping them creates both legal liability and genuine safety hazards.
Planning and design: what to figure out before you touch a tool
This is where most DIY projects and underprepared contractors go wrong. Skipping proper design doesn’t save time. It creates expensive problems you discover only after floors are poured or walls are closed.
Here’s the correct planning sequence to follow:
-
Perform a heat loss calculation. Heat loss calculation is the actual starting point of any hydronic design. It determines how much heat each room needs, which drives emitter selection, loop sizing, and boiler capacity. Skipping this leads to an oversized or undersized system that never performs correctly.
-
Choose your heat emitter type. In-floor radiant, baseboard convectors, or panel radiators each carry different installation requirements and operate best at different water temperatures. If you’re pairing with a heat pump, low water temperatures in the 85 to 120°F range are ideal for maximizing efficiency.
-
Design your zones and loops. Each zone should reflect a specific area with similar heat loss. A bedroom and a sunroom have very different heating demands and should never share a zone without careful consideration. Overly complex zoning can actually reduce heat pump efficiency and push costs up unnecessarily.
-
Size your pipes and plan your manifold placement. Pipe diameter affects flow rate and pressure drop. Manifolds should be placed centrally within the zone they serve to keep loop lengths balanced and flows even.
-
Finalize your boiler or heat source selection. Only after you know your total heat load should you choose your boiler. Selecting a boiler before completing heat loss math is guessing, not planning.
Pro Tip: Bring in a heating designer or HVAC professional before the build phase if you’re integrating a heat pump. Late-stage design decisions are the top reason installers end up ripping up newly finished floors. That’s a mistake that runs into thousands of dollars.
The step-by-step installation process
With design complete and components on hand, here’s how installing hydronic heating actually plays out on site.
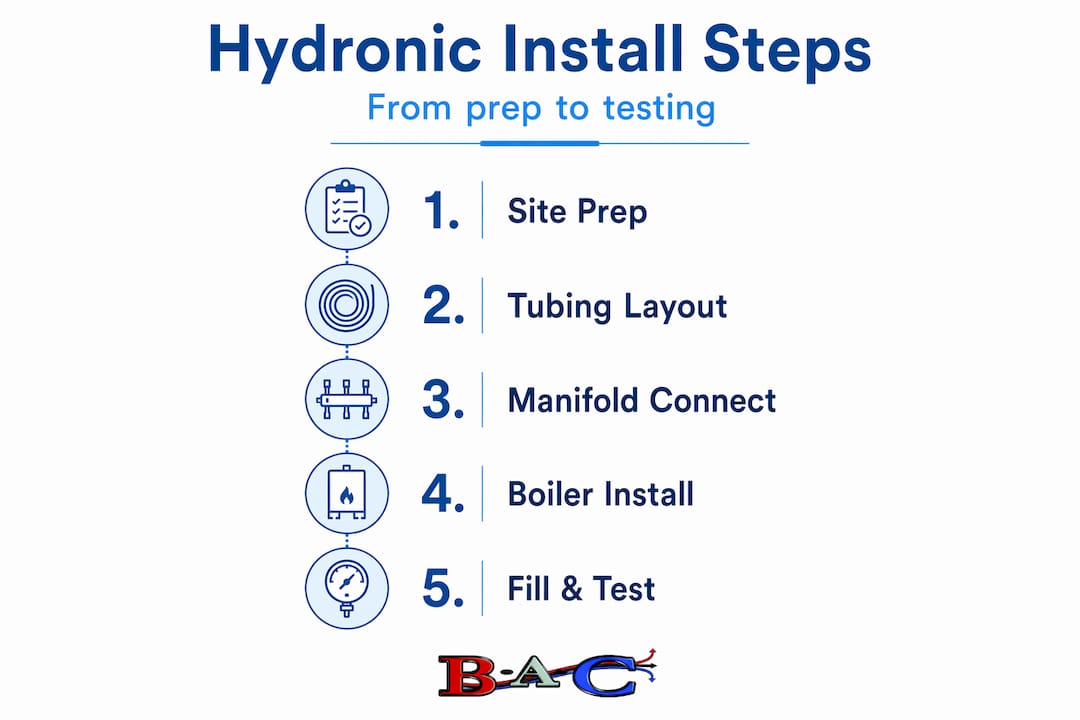
1. Prepare the subfloor or space. For in-slab or under-floor systems, the surface must be clean, level, and insulated underneath to prevent heat loss downward. Rigid foam insulation below the tubing is standard practice.
2. Lay out and secure the tubing loops. PEX tubing gets stapled or clipped to the subfloor or insulation in the pattern defined by your design. Typical loop spacing runs 6 to 12 inches apart depending on the heat output needed. Keep loops from a single manifold port balanced in length to prevent uneven flow.
3. Connect tubing to manifolds. Each loop end connects to the supply and return sides of the manifold. Label every connection clearly. This step determines how easy or difficult future service calls will be.
4. Install the boiler and circulator pump. Mount the boiler according to the manufacturer’s clearance requirements. The circulator pump typically mounts on the return line, before the boiler, to protect it from the highest temperatures.
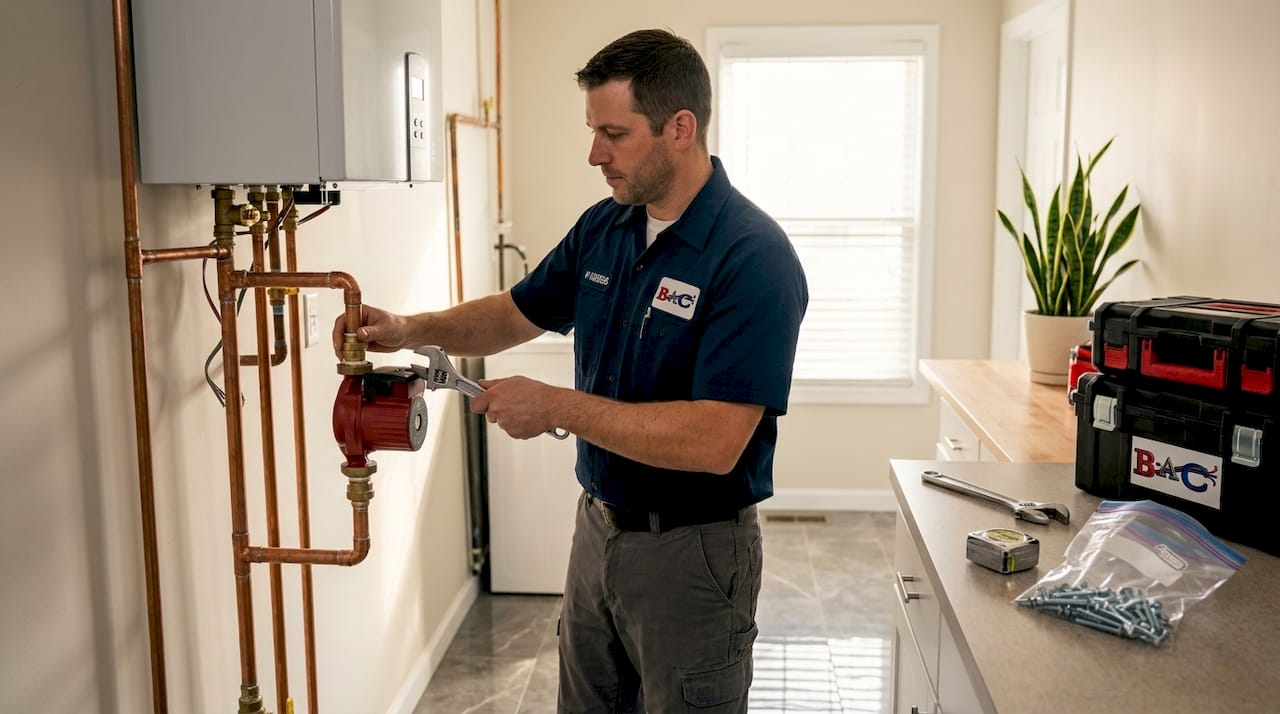
5. Add the expansion tank, air vents, pressure relief valve, and backflow preventer. The expansion tank absorbs thermal expansion as the system heats up; without it, pressure builds until the relief valve trips repeatedly or a fitting fails. Air vents go at the highest points in each loop.
6. Pressure test and leak check. Before covering any tubing with concrete or flooring:
- Pressurize the system to 1.5 times operating pressure using air or water.
- Hold pressure for at least one hour while inspecting every fitting.
- Document the test result before covering anything permanently.
- Address any drops in pressure immediately. Do not assume minor leaks will seal themselves.
7. Connect to the water supply and fill the system. Fill slowly, allowing air to escape through the vents as water rises through the system. The cold fill pressure for most residential systems should land between 12 and 20 psi.
Here’s a quick reference for the main installation phases:
| Phase | Key Task | Common Mistake |
|---|---|---|
| Subfloor prep | Insulate beneath tubing | Skipping insulation, losing heat downward |
| Tubing layout | Space loops per heat load design | Uniform spacing regardless of room heat loss |
| Pressure testing | Test before covering pipes | Testing after concrete pour, finding leaks too late |
| System fill | Fill slowly, monitor pressure | Filling too fast, trapping large air pockets |
| Boiler startup | Verify low-temp operation | Running too hot, reducing heat pump efficiency |
Pro Tip: When purging air, open vents at high points until water flows steadily with no sputtering. Introducing fresh water repeatedly to bleed air changes the system’s chemistry over time, so design your system to minimize air ingress from the start.
Post-installation commissioning and maintenance
Getting the system running correctly is a distinct phase from physical installation. Commissioning is where you verify the system performs to design specifications, not just that it runs.
Key commissioning and maintenance tasks include:
- Air purge: After filling, run the circulator pump with the boiler off and systematically open each zone’s air vent until water flows clean and steady. Then check that pressure holds within the expected operating range, typically 18 to 25 psi when hot.
- Water temperature adjustment: Set the boiler’s supply temperature to match your emitter type. In-floor systems perform well at lower temperatures than baseboard systems. If you have a condensing boiler or heat pump, low-temperature operation directly affects your efficiency rating.
- Expansion tank inspection: Check the tank’s pre-charge pressure annually. A waterlogged expansion tank stops doing its job and causes the relief valve to open repeatedly.
- Backflow preventer testing: This device should be tested every one to two years by a licensed plumber.
- Visual leak inspections: Scan all accessible fittings and valve bodies for moisture or mineral deposits annually.
Signs that your system needs professional attention include persistent pressure loss, unusual noises from the circulator pump, cold spots in previously warm zones, or the relief valve discharging frequently. Any of these symptoms left unaddressed tend to get worse and more expensive.
Comparing installation methods and costs
Not every hydronic system goes into the floor. Your building type, budget, and heating goals all affect which installation method makes the most sense.
Hydronic radiant floor costs typically range from $6 to $20 per square foot depending on system complexity, materials, and whether the boiler needs replacement. Boiler replacement alone can add several thousand dollars to the total project cost.
| Method | Best for | Upfront cost | Efficiency | Installation complexity |
|---|---|---|---|---|
| In-slab radiant | New construction, concrete floors | High | Excellent | High (concrete pour required) |
| Above-floor PEX panels | Renovations, existing structures | Medium | Very good | Medium |
| Baseboard convectors | Retrofit installs, budget-conscious | Low to medium | Good | Low to medium |
| Panel radiators | Older homes, room-by-room heating | Medium | Good | Medium |
In-slab radiant gives you the most even heat distribution and the best results with heat pumps, but it’s only practical during new construction or major renovations. Baseboard convectors are the fastest and least disruptive retrofit option, though they operate best at higher water temperatures, which limits heat pump pairing efficiency. Above-floor PEX panel systems split the difference: they’re retrofit-friendly and still support lower water temperatures reasonably well.
What I’ve learned homeowners consistently get wrong
I’ve seen a lot of hydronic projects go sideways, and the pattern is almost always the same. The physical installation is done well. The design work wasn’t.
Homeowners get excited about the comfort and efficiency benefits of radiant heating, and rightfully so. But the instinct to start buying pipe and fittings before completing a heat loss calculation creates problems that show up two winters later when one zone never quite heats properly, or the boiler short cycles because it’s oversized.
The other issue I see regularly is poor air management. People treat air bleeding as a startup task and then forget about it. In reality, air management should be designed into the system before installation begins. Minimizing points where air can enter the system is far better than building a system that requires frequent bleeding.
My honest take: if you’re installing hydronic heating in a home over 2,000 square feet, or pairing with a heat pump, this is not a project to approach without professional design input. The installation itself might be within reach for a skilled DIYer in some configurations. The design work almost never is.
— John
Ready to install your hydronic heating system?
If this guide has you thinking seriously about installing hydronic heating in your New Jersey home or commercial property, the next step is a professional assessment, not another Google search.

Brightonaircorp has been serving New Jersey homeowners and businesses since 1993, with over 150 years of combined technician experience across heating, cooling, and HVAC systems. The team handles hydronic heating installation, boiler setup, circulator pump selection, and ongoing maintenance programs designed to keep your system running at peak efficiency for decades. Whether you’re planning a new construction project or retrofitting an existing building, you can get a free estimate and talk through your options with a technician who knows New Jersey’s climate and code requirements inside out.
FAQ
What are the main components needed to install a hydronic system?
A hydronic heating system requires a boiler or heat pump, circulator pump, PEX tubing or copper pipes, manifolds, heat emitters, an expansion tank, a pressure relief valve, a backflow preventer, and air vents. Every one of these components plays a specific safety or performance role.
How much does hydronic heating installation cost?
Costs typically range from $6 to $20 per square foot for radiant floor systems, with boiler replacement adding several thousand dollars to the total. Final cost depends heavily on the installation method, building size, and whether a new heat source is required.
Can I install a hydronic heating system myself?
Some experienced DIYers can handle portions of the physical installation, particularly PEX tubing layout. However, boiler installation, pressure testing, and system commissioning generally require licensed professionals and must meet local plumbing and mechanical codes.
How long does it take to install a hydronic heating system?
A typical residential installation takes between three and ten days depending on system complexity, zone count, and whether new concrete work is involved. In-slab systems add time due to the pour and curing schedule.
Why is air purging so important after installation?
Trapped air in the system creates cold spots, causes noise, and forces the circulator pump to work harder than it should. Proper air purging at high-point vents after installation is one of the most direct ways to protect first-season performance and long-term system health.